Your First Project
A step-by-step walkthrough from signing up to your first export.
Create an account
Head to app.usevyra.com and sign up. The free tier gives you 600 processing credits, 2 GB of storage, and 5 projects — enough to get a feel for the editor.
Connect your AI agent
Vyra's AI works through MCP (Model Context Protocol). Follow the MCP setup guide to connect your preferred client — Claude Code, Claude Desktop, claude.ai, Cursor, and more are all supported.
Create a new project
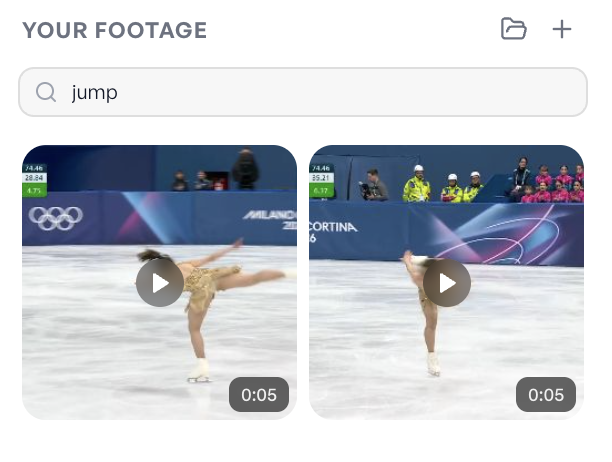
From the home page, drop your footage onto the upload area — or click to browse your files. You can add videos, images, and audio.
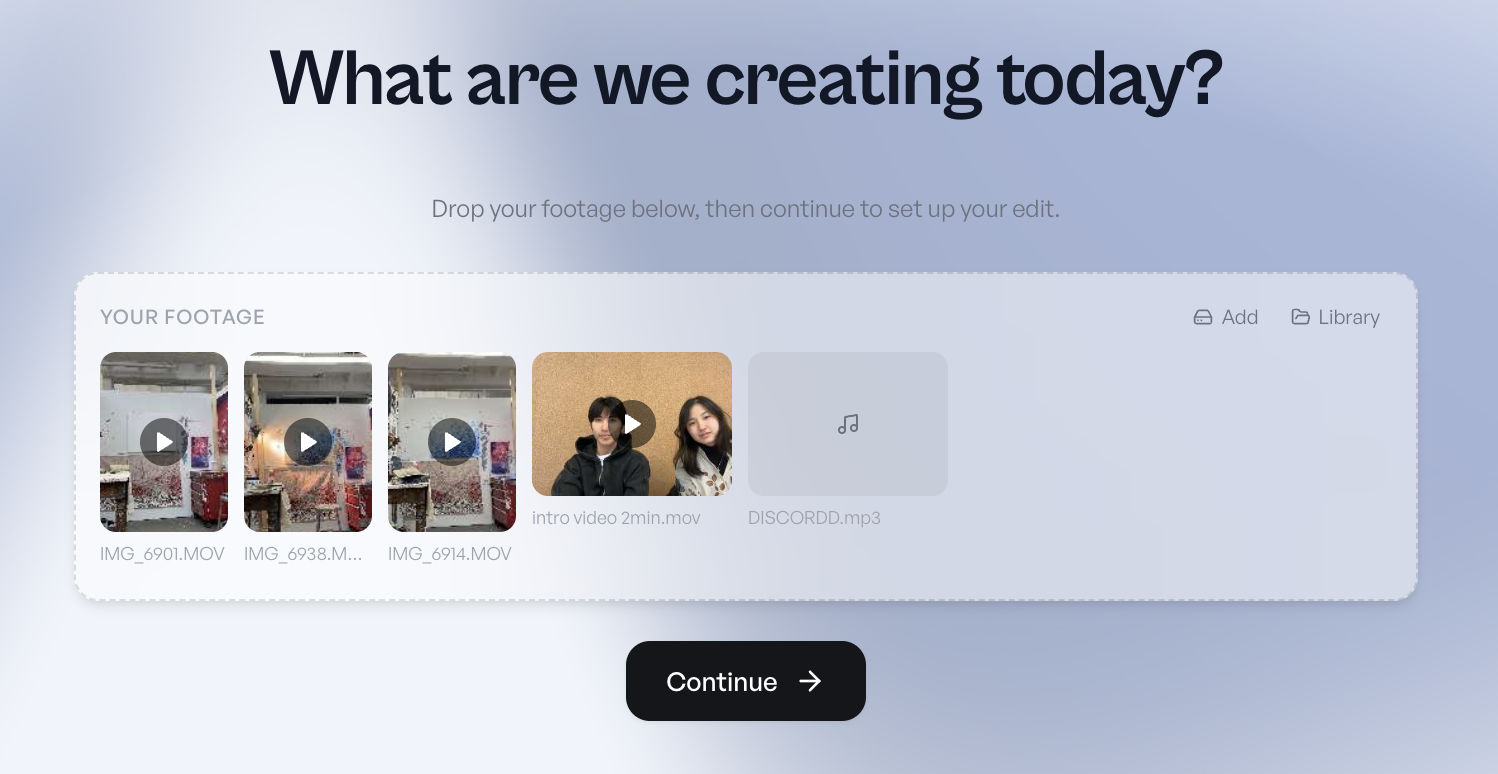
Tip: Files added directly to a project stay on your device (local mode). They're fast to start with, but only available on this machine. You can back them up to the cloud later from the cloud icon in the top bar.
Optionally pick a template (video structure like “Short Talking Head” or “Vlog”) and a style (colors and fonts). You can also upload a reference video to guide the AI's editing style.
Click Create Project. Your footage will start processing — this takes a minute or two depending on file sizes.
Wait for processing
While your footage processes, Vyra:
- Transcribes all speech (so you can search by what was said)
- Analyzes every scene visually (so you can search by what you see)
- Generates thumbnails for your footage library
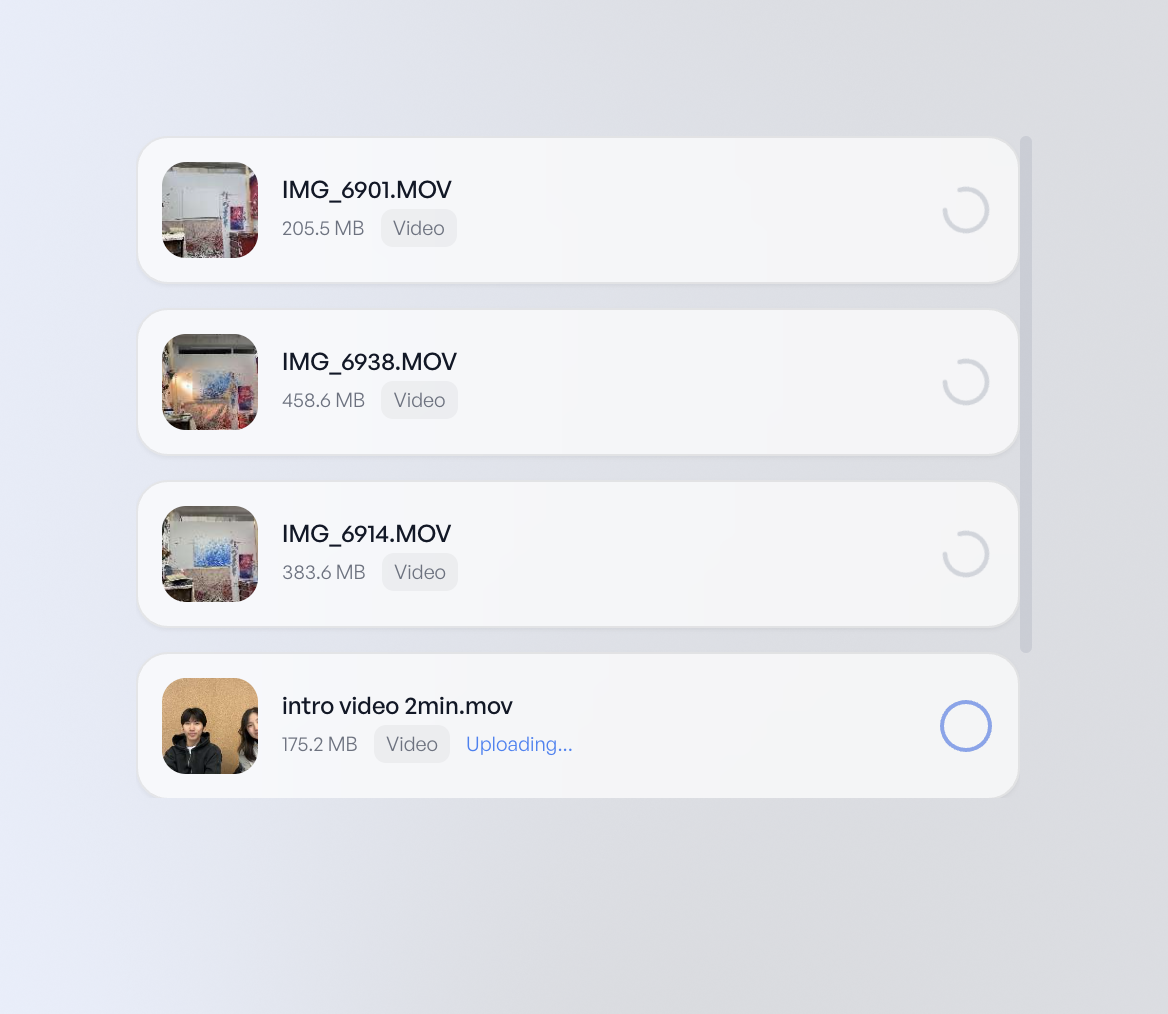
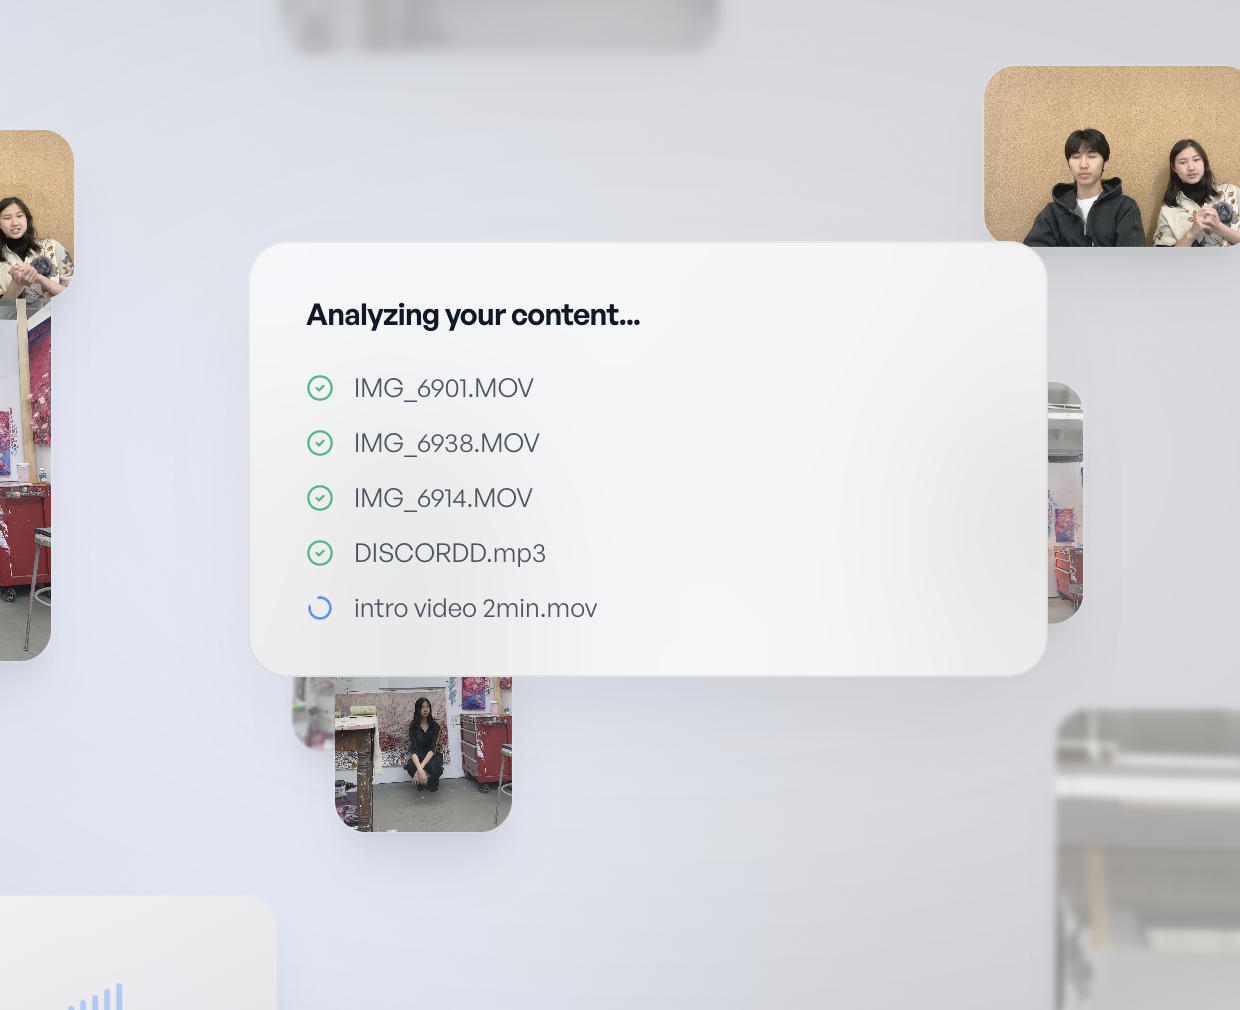
You'll see progress on each file. Once everything shows a green checkmark, the editor opens automatically.
Get familiar with the editor
The editor has three main areas:
Left — Footage Panel
Your uploaded footage and reference videos. Search for clips, drag them onto the timeline, or click to add.
Center — Canvas
The video preview. What you see here is what you'll export.
Right — Tools & Properties
Tool panels (text, effects, captions, etc.) when nothing is selected. Properties and effects when an item is selected on the timeline.
The timeline runs along the bottom — this is where you arrange your clips, text, audio, and graphics.
Connect this tab to the agent
The editor and the agent live in different places — the editor is this browser tab, the agent runs wherever you set up MCP (Claude Code in your terminal, claude.ai, etc.). To let the agent drive THIS tab, click the Connect MCP button in the top bar.
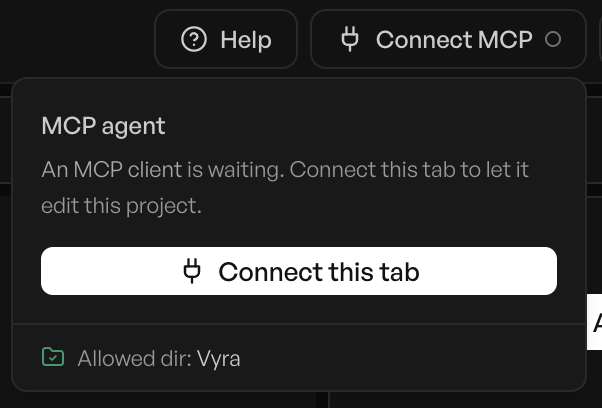
A green dot means you're bound. If you open a second tab and connect it, the agent shifts to driving that one (it offers a "Take over" option). Only one tab is bound at a time.
Start editing with the agent
Open your MCP client and tell the agent what you want. It can do anything you'd do manually — just describe what you're going for:
You'll see changes happen in the editor in real time as the agent works. You can also edit manually in the UI at any point — use whichever feels faster.
Export your video
Click the Export button in the top-right corner. Choose a preset or configure custom settings:
- Resolution — up to 720p on free, 1440p on Starter, 4K on Pro
- Format — MP4 (best compatibility) or WebM
- Quality — drag the bitrate slider between smaller file and higher quality
Exports happen entirely in your browser — keep the tab open until it finishes. Your video is saved to your downloads and also appears in the Exports section of the Assets page.
What's next
Now that you have a project under your belt:
- Try adding a reference video — the agent matches its pacing, style, and visual treatment
- Explore semantic search — search your footage by describing what's in it, not by filename
- Experiment with effects and masks — the agent can apply color grading, smart masks, and background removal
- Read the Getting Started guide for tips on communicating with the agent, what it's best at vs. what's faster to do yourself, and how to use motion graphics and reference videos